
Popular Search
How To Pack A Carry-On Bag For A Two-Week Trip: No Checked Luggage Needed

Ready to skip long checked baggage lines and avoid lost luggage on your next two-week trip? In this guide, you'll discover simple, actionable strategies to fit all your essentials into a single carry-on bag. You’ll be able to move through airports faster and enjoy your trip without extra luggage hassle.
Why should you care about packing only a carry-on for a two-week trip? This approach cuts extra travel costs, reduces wait times at airports, and removes the stress of lost or delayed luggage. But it's important to understand the core rules and tricks to make this work for any destination or travel style.
Why Packing A Carry-On For A Two-Week Trip Is Worth Your Time
- Save on travel costs: Most airlines charge extra fees for checked bags, which can add up significantly for round-trip or multi-stop itineraries. Skipping these fees lets you allocate more of your budget to activities, food, or souvenirs on your trip.
- Avoid airport delays: You won’t have to wait in line to drop off checked bags before your flight or wait at the baggage carousel after you land. This can cut up to an hour or more of waiting time from your travel schedule.
- Eliminate lost luggage risk: Checked bags get lost or delayed by airlines every day, which can derail the first few days of your trip. Keeping all your belongings with you ensures you have everything you need the moment you arrive at your destination.
- Build flexible travel habits: Packing light teaches you to prioritize only the items you actually need, making future trips even easier to plan. You’ll also be able to move through public transit, walk to accommodations, and change plans spontaneously without heavy bags holding you back.
Step-by-Step Guide to Packing A Carry-On For A Two-Week Trip
Step 1: Curate a versatile, mix-and-match wardrobe
Pick 7 to 9 core clothing items in neutral, complementary colors that you can layer and mix to create different outfits for different occasions. Prioritize quick-drying, wrinkle-resistant fabrics that hold up well through repeated wears and washes. Pro tip: Limit yourself to 2 pairs of shoes total, wearing the bulkier pair on travel days to save space in your bag.
Step 2: Use packing cubes to organize items by category
Sort your clothing into separate packing cubes for tops, bottoms, undergarments, and accessories to keep your bag neat and easy to navigate. Roll each clothing item tightly instead of folding to reduce wrinkles and maximize available space in each cube. Common mistake to avoid: Overfilling packing cubes so they no longer fit neatly into your carry-on’s dimensions.
Step 3: Downsize toiletries to travel-sized containers
Transfer all liquids, gels, and creams into 3.4-ounce (100ml) or smaller containers that fit into a single quart-sized clear plastic bag for airport security checks. Skip non-essential toiletries that you can easily buy at your destination, such as shampoo or sunscreen, to save extra space. Pro tip: Use solid toiletries like bar soap, shampoo bars, and solid deodorant to avoid liquid restrictions entirely.
Step 4: Pack heavier items at the base of the bag
Place shoes, toiletries, and other heavier items at the bottom of your carry-on (the end closest to the wheels) to keep the bag balanced and prevent lighter clothing from getting crushed. Fill empty spaces inside shoes with small items like socks, charging cables, or jewelry to use every available inch of space. Common mistake to avoid: Storing heavy items near the top of the bag, which can make it tip over or feel heavier to carry.
Step 5: Stash travel essentials in an easily accessible pocket
Keep your passport, tickets, phone charger, portable power bank, medications, and a change of underwear in an outer pocket of your carry-on. This lets you grab these items quickly during security checks, on the flight, or if you need access to them mid-trip without unpacking your whole bag. Pro tip: Add a lightweight reusable tote to this pocket for day trips, grocery runs, or carrying souvenirs during your trip.
Step 6: Test the bag’s weight and size before you leave
Weigh your packed carry-on to make sure it falls under your airline’s carry-on weight limit, usually between 15 and 22 pounds depending on the carrier. Lift the bag and roll it around for a few minutes to make sure it is comfortable to carry and fits easily in overhead bin size requirements. Common mistake to avoid: Waiting until you arrive at the airport to check your bag’s size, which can force you to check it last minute and pay unexpected fees.
Challenges to Be Aware Of
- Strict airline size and weight limits: Different airlines have slightly different carry-on size and weight restrictions, so you may need to adjust your packing for each carrier. Check your airline’s specific rules 3 to 5 days before your trip, and remove non-essential items if your bag is over the limit to avoid last-minute issues.
- Limited space for souvenirs: Packing only a carry-on leaves very little extra room for souvenirs or new items you buy during your trip. You can ship non-fragile souvenirs back to your home address if needed, or leave a small empty section of your bag before your trip for small purchases.
- Adjusting to fewer clothing options: It may feel strange at first to only have a small selection of clothing items for a two-week trip. Most destinations have access to laundry facilities, either at your accommodation or a local laundromat, so you can wash clothing halfway through your trip to refresh your wardrobe.
Conclusion
You now have the foundation to start packing a carry-on for a two-week trip without needing checked luggage. The simple steps and tricks covered here work for almost any destination, from warm beach getaways to cold city trips, and you can adjust them to fit your personal needs.
Packing only a carry-on offers the core opportunity to travel faster, cheaper, and with far less stress than traditional checked luggage. By mastering this skill, you’re positioning yourself for smoother, more flexible trips that let you focus on enjoying your destination instead of managing your bags.
Don’t wait for the perfect moment. Start curating your versatile travel wardrobe for your next trip today. You’ll be surprised by how little you actually need to bring to have a comfortable, enjoyable two-week adventure.
FAQ
How long does it take to learn how to pack a carry-on for a two-week trip?
Most people can master this skill after 1 to 2 practice packing sessions, which usually take 30 to 45 minutes each. Your first attempt may take a little longer as you figure out which items you can leave behind, but it gets much faster with every trip. Start practicing a few days before your next trip to get comfortable with the process.
Do I need special bags or gear to pack a carry-on for a two-week trip?
You don’t need expensive special gear to make this work, though packing cubes and travel-sized toiletry containers can make the process much easier. A standard 21 to 22 inch rolling carry-on bag that fits most airline size requirements works perfectly for most travelers. You can even use a large backpack if you prefer to carry your bag instead of rolling it.
What's the best way to pack for different weather conditions in a single carry-on?
Prioritize lightweight, layered clothing that you can add or remove depending on the temperature, instead of bulky heavy coats. Wear your bulkiest outer layer, like a jacket or sweater, on travel days to save space inside your bag. You can also pack a thin, packable waterproof layer that folds up small to prepare for unexpected rain or cold.
Can I use this packing method for longer trips than two weeks?
This method works for trips of almost any length, as long as you have access to laundry facilities every 7 to 10 days to wash your clothing. For trips longer than a month, you may want to leave a little extra space for 1 or 2 additional core clothing items if you have room. Start with this two-week method first, then adjust as needed for longer travel plans.


RECOMMEND ARTICLES

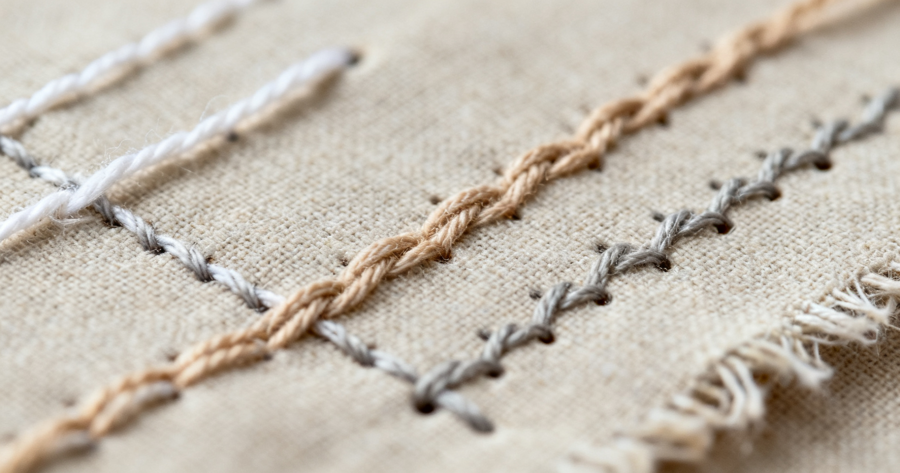
How To Master Basic Hand Sewing Stitches For Clothing Repair

How To Train Your Dog To Sit And Stay In 10 Minutes A Day: Simple Beginner Guide
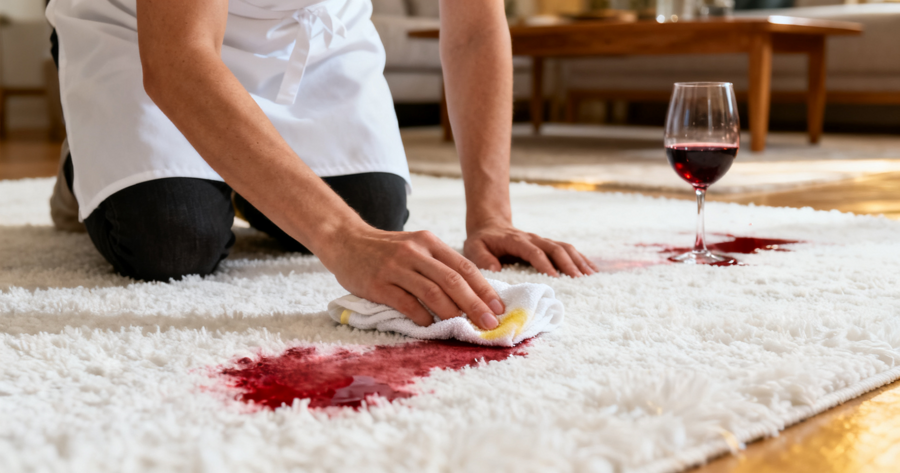
How To Remove Red Wine Stains From White Carpet Naturally

How To Identify And Treat Common Pests In Your Vegetable Garden
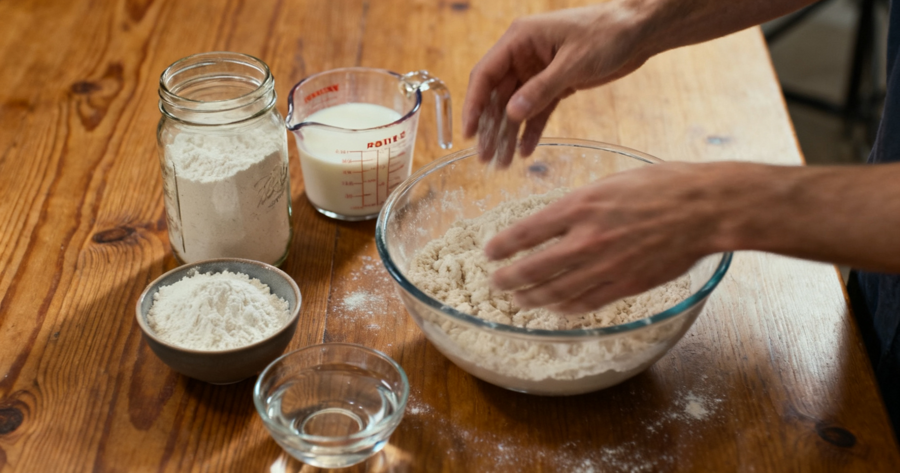
How To Make Perfect Sourdough Starter From Scratch: Step-by-Step Beginner Guide
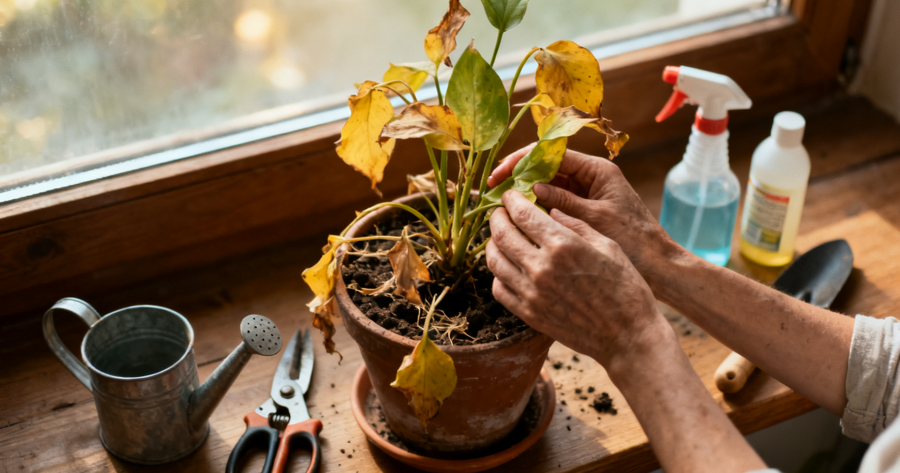
How To Revive A Dying Houseplant: 5 Essential Steps For Beginners
How To Propagate Succulents From Leaves: A Beginner’s Guide

How To Create A DIY Vertical Garden For Small Balconies: A Beginner’s Step-by-Step Guide
How To Remove Hard Water Stains From Glass Shower Doors: A Simple, No-Harsh-Chemicals Guide

How To Paint A Room Like A Professional: A Step-by-Step Guide
Most Read

How To Play Free VR Football Games: A Complete Guide For New Players

How To Explore Your Past Life Identity: A Practical Guide For Curious Adults

How To Use 99 Nights In The Forest Script: A Complete Player's Guide

How To Land A Long-Term Caregiver Role With No Experience: A Step-by-Step Guide

How To Get New Emotes In Roblox: A Step-by-Step Guide

Cultural Blooms: How Different Regions Interpret The Language Of Flowers!
Subscribe For New Quizzes
About us | Privacy Policy | Data Removal | Feedback
Copyright © 2019-2026 | All rights reserved.